On arrival · Day 0–3
Uncrating & assembly
From a sealed container to a bike that starts, in one afternoon per unit. Written for the mechanic, not the salesperson.
1. Before you break the seal
- Photograph the container seal number and compare it to the bill of lading and to our sealing photo. A mismatched or broken seal is an insurance matter — document it before anyone touches the doors.
- Open the doors and photograph the load exactly as it stands, from the same angles as our layer-by-layer loading photos. Any shifted, crushed or leaning crate gets a close-up now, not after unloading.
- Count crates against the packing list. Check the VIN label on each crate against the packing list VIN column; the PDI video filename for each unit is that VIN.
2. Open the crate
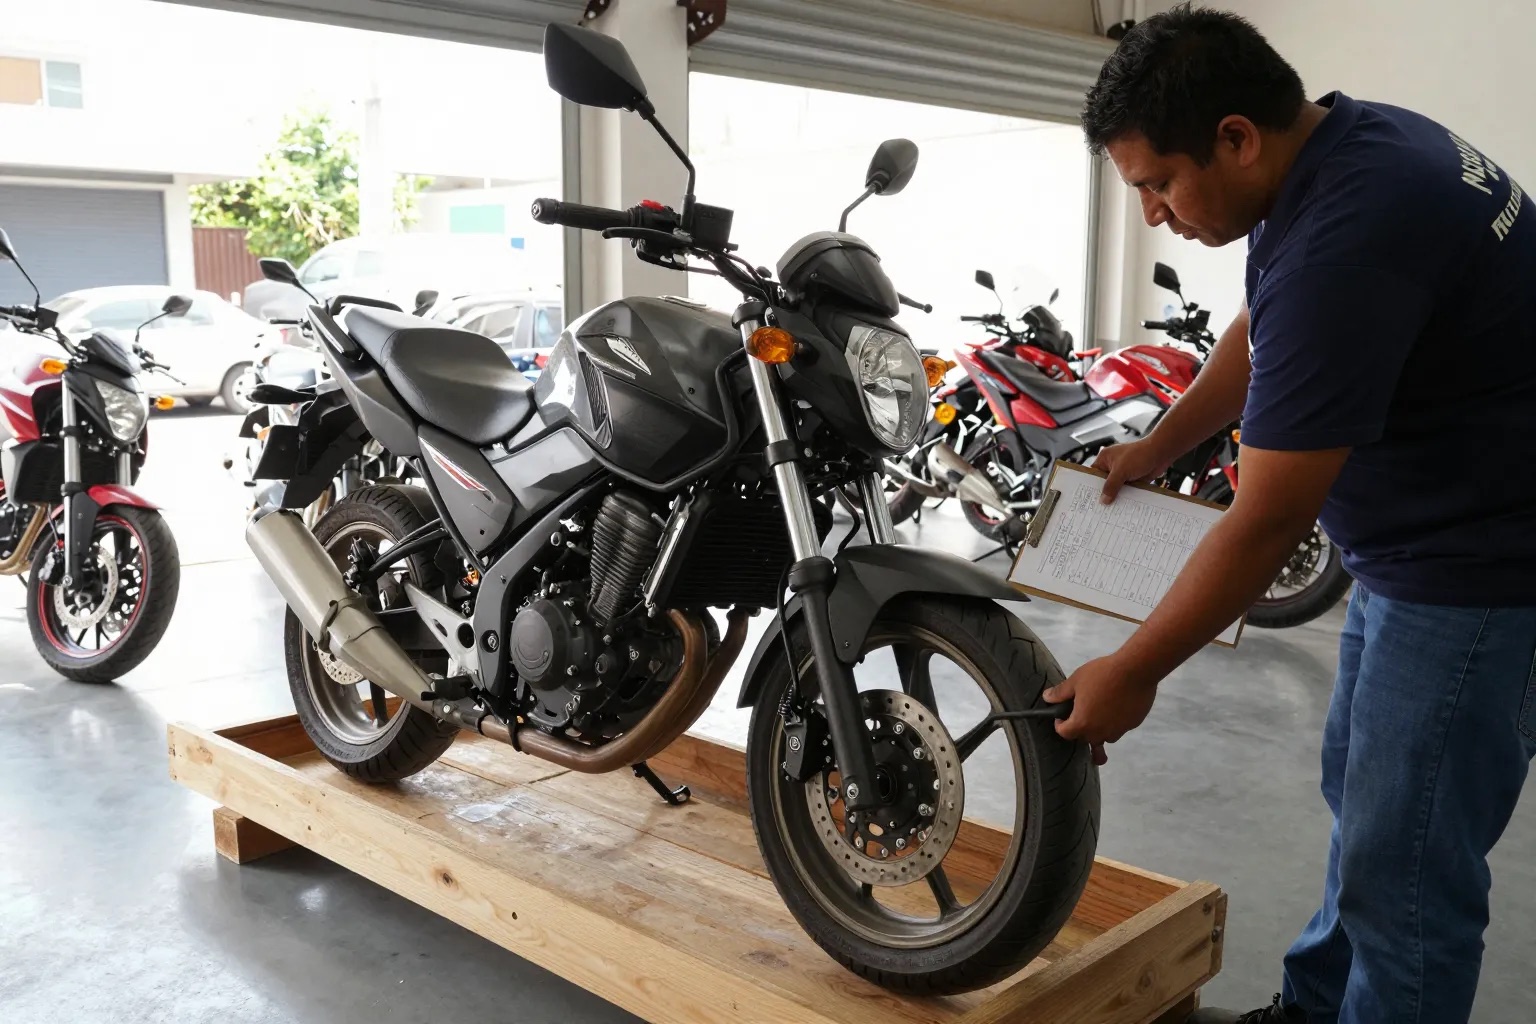
- Steel frame crates: remove the top-bar bolts (usually 13 mm), lift the top frame off, then unbolt the side bars. Plywood crates: pry the lid from the corners; keep the wood — you will want it for returns.
- Cut cable ties holding loose parts (mirrors, handlebar, front fender, windscreen, racks) and lay them out on a mat next to the crate in the order you will refit them.
- Find the hardware bag — the factory tapes it to the frame or seat. Count the bolts against the manual’s assembly diagram before starting.
- Photograph the bike on its crate base before removing anything. This is your “as received” record for claims.
3. What was removed for crating, and how it goes back
- Front wheel (most full-size bikes): slide the axle through the fork legs and hub, spacers in the same orientation as the manual shows, brake disc between the pads. Tighten the axle nut to the platform torque (typically 60–80 Nm on a 450, 45–55 Nm on a commuter), then the fork pinch bolts (≈ 20–25 Nm). Spin the wheel: no rubbing, no wobble.
- Handlebar: set on the risers with the punch mark aligned to the clamp gap, tighten the front clamp bolts first then the rear (≈ 22–26 Nm), so the gap sits at the rear. Check that cables and hoses route without kinks at full lock both ways.
- Mirrors, windscreen, hand guards, luggage rack: hand-tight plus a quarter turn on plastics — over-tightening cracks the screen at the bolt holes. Use the rubber washers supplied.
- Front fender, number plate holder and indicators: often shipped loose on enduros. Refit and check the indicator plugs click home.
- Battery: shipped disconnected, sometimes in a separate box. Connect positive first, negative last, then charge to full before the first start (see next step).
- Footpegs and gear lever: refit, set the lever height for the average rider, torque the pinch bolt (≈ 10–12 Nm).
4. Battery
- A lead-acid or AGM battery that has spent 5–8 weeks in a container is at 40–70%. Put it on a smart charger at 1–2 A (0.5–1 A for small commuter batteries) until the charger shows full — normally 4–10 hours. Do not use a car charger on high current.
- Rested voltage after charging: 12.6–12.8 V is healthy. Below 12.4 V after a full charge, the battery is sulphated: note the VIN and claim it; we replace batteries reported within 30 days of arrival.
- Lithium starter batteries (some sportbikes and e-motos): use a lithium-mode charger only. Lithium packs on e-motos may need the charger connected for 30–60 seconds to wake the BMS.
5. Fluids
- Engine oil: the factory fills to the correct level for the PDI run, then leaves it in. Check the sight glass / dipstick with the bike upright: mid-mark. Top up with the platform grade if low; do not drain it — the first change is at 300–1,000 km.
- Coolant: check the reservoir between MIN and MAX. If the radiator itself is low (rare, some factories drain for air freight), fill with 50/50 glycol and bleed with the engine warm.
- Brake fluid: check both reservoirs; pump the levers until firm. Spongy after pumping means air from a disturbed line — bleed at the caliper.
- Fuel: tanks are shipped nearly empty by regulation. Add fresh 92–95 RON. EFI bikes: cycle the key three or four times, pausing for the pump whine, before cranking.
- ATV/UTV: also check front and rear differential/gearbox oil levels at the fill plugs, and make sure the CVT housing is dry.
6. Tires and torque
- Crated bikes often ship at 0.5–1.0 bar to fit the crate. Inflate to the platform’s road pressure (see the platform manual) — this also catches a slow leak before the customer does.
- Torque check, in this order: axle nuts, fork pinch bolts, handlebar clamps, brake caliper bolts, rear sprocket bolts, engine mounts, footpeg brackets, subframe bolts, luggage racks. Values are in each platform manual; the OEM manual prevails.
- Chain: set the slack to the platform value (typically 35–45 mm enduro, 25–35 mm street) with the bike on its stand, align by the swingarm marks, torque the axle, re-check the slack.
- Spoked wheels: ping every spoke with a wrench; dull ones are loose. Tighten a quarter turn at a time in a star pattern.
7. First start
- Kill switch to RUN, neutral, sidestand up if the bike has a sidestand cut-out. Crank in bursts of no more than 5 seconds with 10 seconds between them.
- Let it idle for 3–5 minutes with the throttle closed so the EFI relearns idle; watch for leaks under the bike, listen for chain or fan noise, confirm the fan cuts in at around 95–100 °C on liquid-cooled models.
- Check every light, indicator, horn and the dash warning lamps clear. ABS lamps clear only after riding above about 10 km/h.
- Ride it 2–3 km around the yard: brakes bed, gears select, no pull to one side. This is the start of the break-in procedure.
PDI at destination — 18 points
The same points we filmed per VIN in Chongqing (see the origin PDI). Repeat them before the unit goes on the floor; anything that fails and is not transit damage is a claim.
| # | Check | OK |
|---|---|---|
| 1 | VIN on frame matches VIN plate, engine number and documents | ☐ |
| 2 | No transit damage: forks, radiator, tank, plastics, exhaust, footpegs | ☐ |
| 3 | Battery ≥ 12.6 V rested after charge | ☐ |
| 4 | Engine oil, coolant and brake fluid at correct levels; no leaks after 5 min idle | ☐ |
| 5 | Tire pressures set; spokes tensioned; wheels spin true | ☐ |
| 6 | Axle, handlebar, caliper, sprocket and engine-mount torques checked | ☐ |
| 7 | Chain slack and alignment set | ☐ |
| 8 | Throttle returns freely at full lock both ways; clutch free play 10–15 mm | ☐ |
| 9 | Front and rear brakes firm; disc runout not visible | ☐ |
| 10 | All lights, indicators, horn, dash and warning lamps work | ☐ |
| 11 | Fan runs at temperature (liquid-cooled) | ☐ |
| 12 | Charging voltage 13.8–14.5 V at ≈ 5,000 rpm | ☐ |
| 13 | No EFI fault codes stored | ☐ |
| 14 | Steering head no play (rock the bike with front brake on) | ☐ |
| 15 | Sidestand / centrestand springs and switch work | ☐ |
| 16 | Keys (two), manual, tool kit and document set present | ☐ |
| 17 | Cosmetic check under bright light; photograph any defect with the VIN in frame | ☐ |
| 18 | Test ride 2–3 km: gear selection, brakes, no pull, no abnormal noise | ☐ |
SKD / CKD units
Commuters shipped semi-knocked-down arrive with the front end, rear wheel, seat, tank and sometimes the exhaust off, to fit 25–40% more units in the box. Assembly follows the same logic — hardware bag, torque values, fluids, battery — and takes 45–90 minutes per bike with two people. We supply the factory assembly sheet with SKD orders; ask for it at quote stage so you can plan labour.
Damage found on arrival
- Photograph with the VIN in frame and the crate/packing visible; note it on the delivery receipt with the trucker.
- Send us the photos the same day on WhatsApp. Transit damage goes to marine insurance (we can help with the survey request); anything that was fine in our loading photos but damaged on arrival is a carrier matter — we help document it either way.
- Missing hardware or loose parts we replace by courier at no charge — tell us within 7 days.
Ready to build your container?
Send models and quantities. Line-by-line FOB Chongqing quote within 24 hours, in English or Spanish.